Fine Art and Conceptual Photography
My Typical Editing Workflow
Here is a short video showing my editing workflow for an image I took a few years back. This wasn’t a planned out edit or anything so you will see me mess up a few times and work through how I want to take the image.
Here is a short video showing my editing workflow for an image I took a few years back. This wasn’t a planned out edit or anything so you will see me mess up a few times and work through how I want to take the image. My usual editing flow starts out in Lightroom where I do as much of the basics as possible. From there I will take the image into Photoshop and do any heavy lifting edits. With the style I like for my images I tend to use Nik Software a lot as well. After I do any changes in photoshop or plugins I take the image back into Lightroom for any final adjustments.
Creative Bokeh
Though I will never give up my claim that all the wide open Bokeh effects that everybody is in love with these days in anything but a fad like Selective Coloring and the Lomo Instagram effects, it still is pretty cool and is perfect for creating some great effects.
Creating Bokeh in front of your subject.
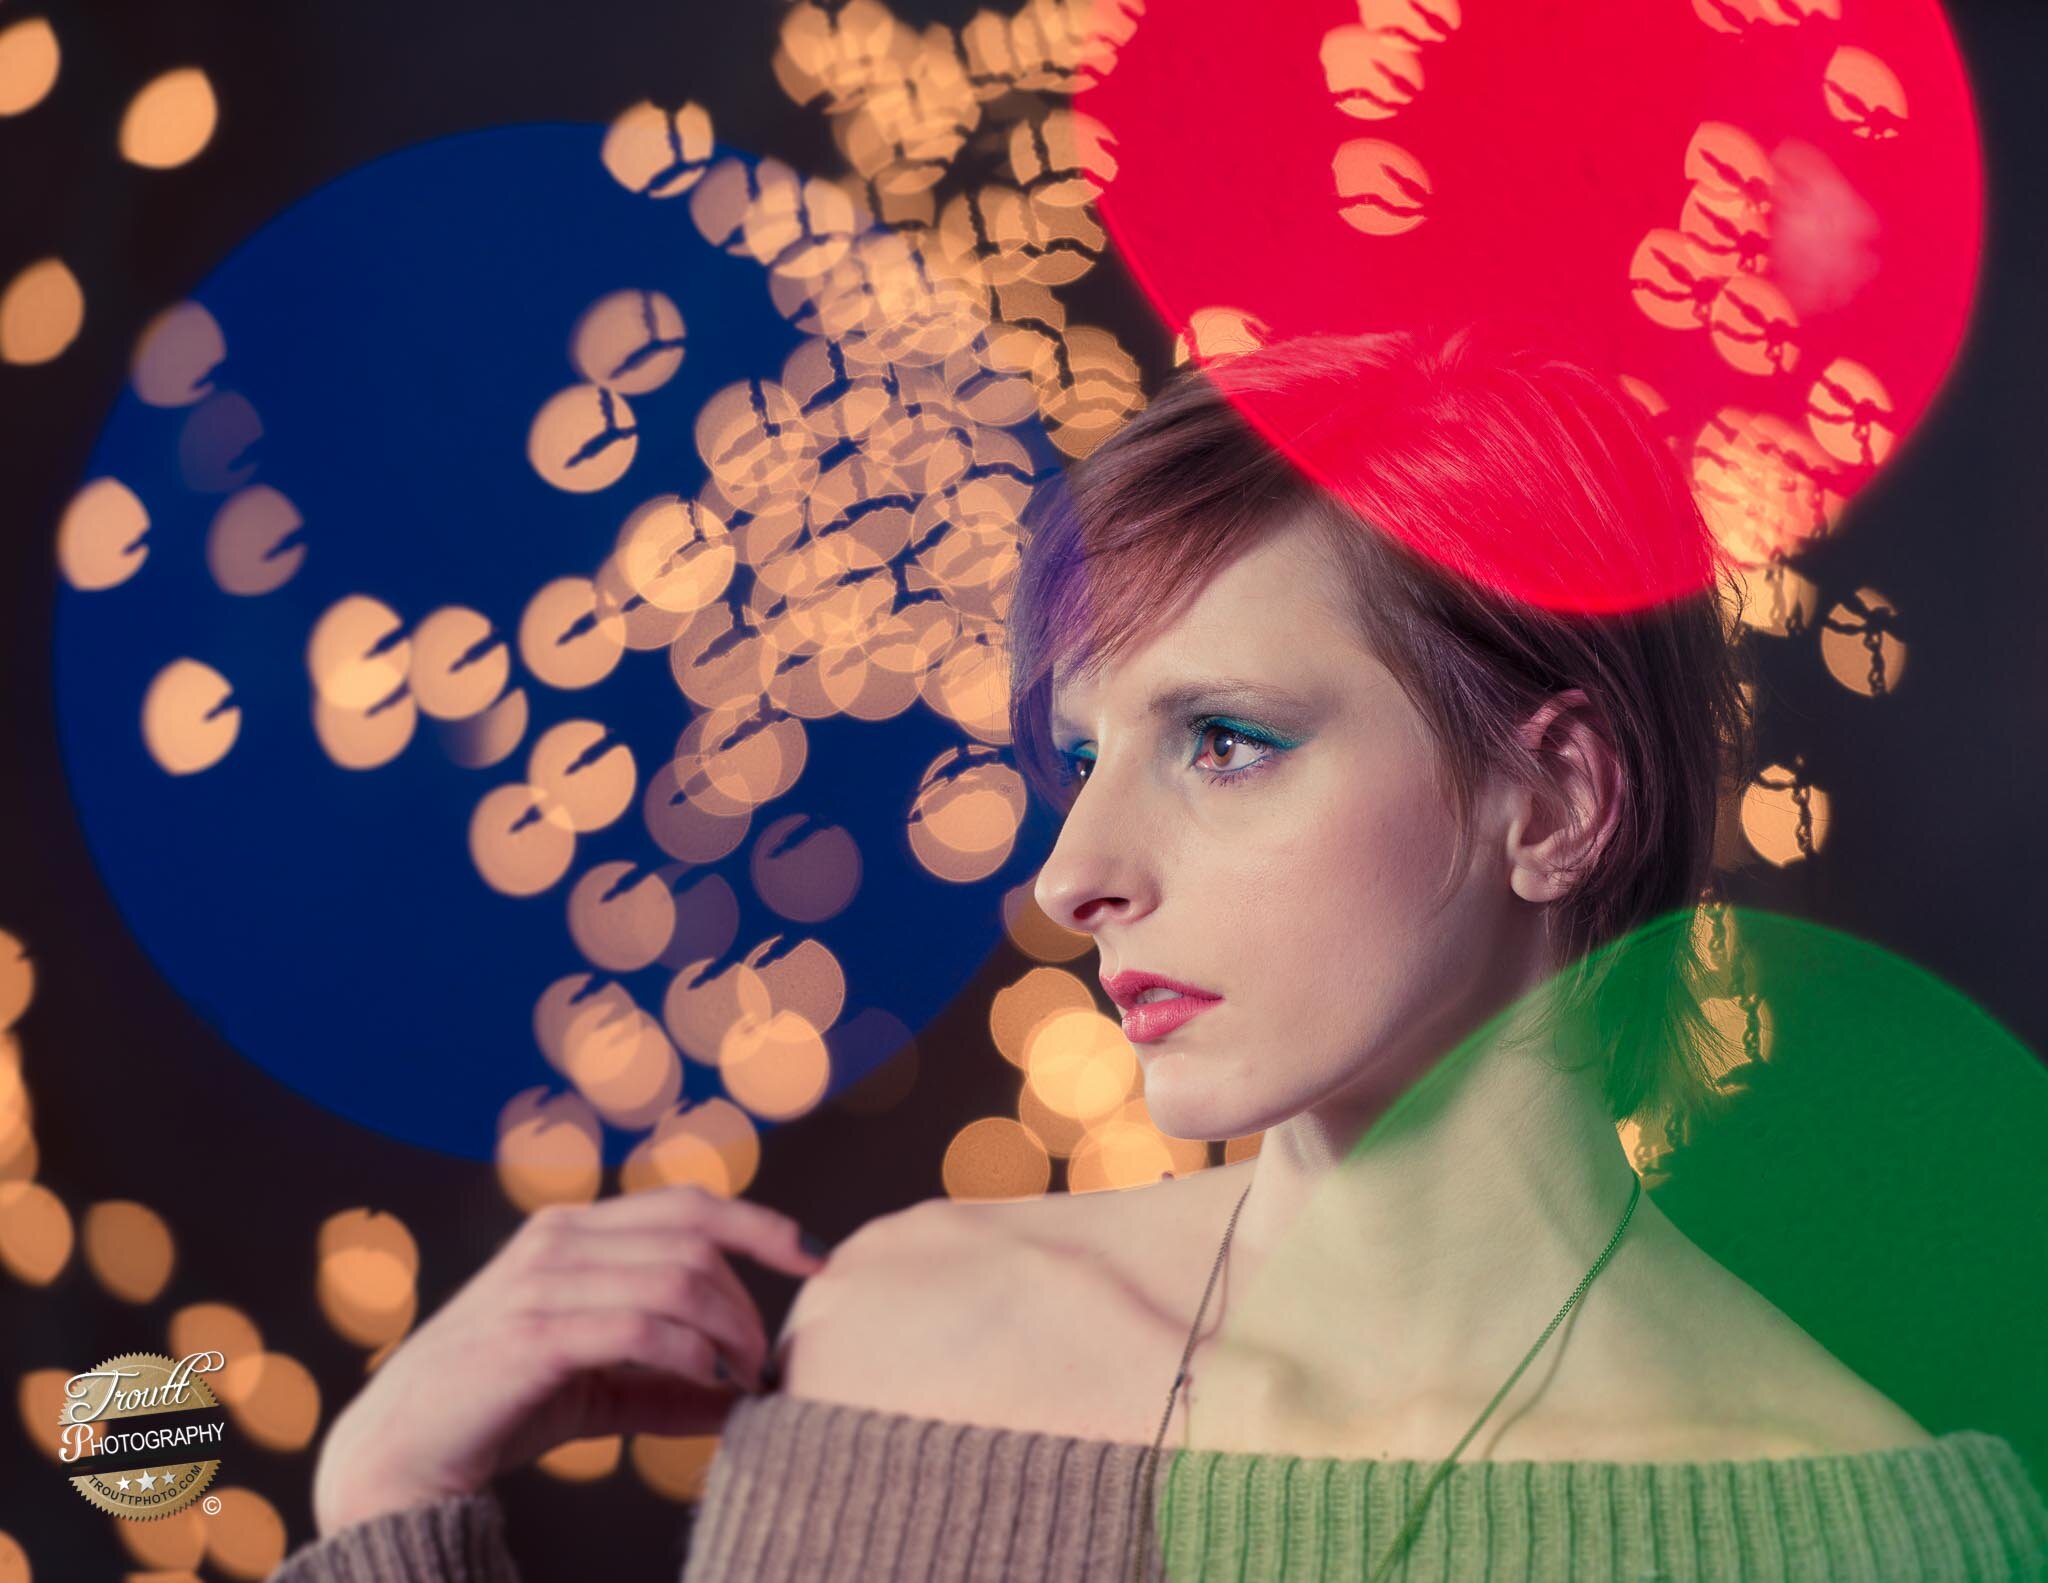
Though I will never give up my claim that all the wide open Bokeh effects that everybody is in love with these days in anything but a fad like Selective Coloring and the Lomo Instagram effects, it still is pretty cool and is perfect for creating some great effects. For yesterdays shoot, I mixed both Strobes and Christmas lights to create these effects. First off I put a Paul C Buff Alien Bee AB800 about 10ft from my model with a shoot through umbrella. I put a gridded AB800 behind her with the standard reflector can that comes with them with a 30 degree grid to control any spill of light. I hung about 400 christmas light behind the model about 15 ft behind her. The unique color bubbles come from me hanging a strand of colored christmas lights in front on my camera about 1 ft in and 10 ft in front of the model. The Colored lights were outside the focal plain of the lens and created some unique bokeh effects that make these shots stand out from the typical Christmas Light Bokeh shot. The strobes were both set to min power, I shot at ISO 250 at 1/60th to 1/100th of a second and bounced between f2.8 and f4.0 on my lens. When doing this kind of shoot, experiment with different lenses because the number of blades in the lens will create different shaped bokeh effects. And make sure you have the ability to turn off the lights as normal overhead lights in the room will often be to powerful for that slow a shutter speed/ISO and will give the shots a ton of Light pollution not to mention overpower your Christmas lights.
The photos with the round Bokeh were done with the Nikon 70-200 2.8 VII while the shots with the Octagon Bokeh were shot with a Nikon 85mm 1.8D.
Overhead view of the Setup.
The Photography Toolbox.
This past Saturday I spent the day shooting in one of the local parks here in Saint Louis. Like any other shoot, I over packed the car with way more gear than I could possibly lug around. Battery Packs, Multiple Strobe lights,
The Brolly Box
This past Saturday I spent the day shooting in one of the local parks here in Saint Louis. Like any other shoot, I over packed the car with way more gear than I could possibly lug around. Battery Packs, Multiple Strobe lights, Stands, Sandbags, two Camera’s and several modifiers. I had never shot here and really had no idea what I was getting myself into as far as the size of the park or the amount of stairs that it had. Upon arriving, I did a quick scan of the place, and realized I wanted to go light, as this was a fairly spread out area with lots of good areas to shoot and their would be walking involved from location to location. Out comes the trusty Brolly Box. For anyone not familiar with this light modifier, it is essentially a small Octo-Box, this one being 42inches, that collapses like an umbrella. For anyone that uses off Camera flash, I recommend this being in your arsenal of light Modifiers. They weigh less than a pound, fold up to store the same size as one of those cheap umbrella’s that all of us seem to have to many of, and they don’t cost hardly anything. Like any umbrella based modifier, these things will eventually fail on you, fortunately they can be picked up on Amazon in sets of 2 for around $25-$35. So far I have not found any modifier in that price range that works so well for me and is so very useful. I use them on both my speed lights and my Strobes. The inside is a reflective silver. You put your light inside the hole in the center aimed at the silver back of the umbrella and when it goes off it will fill the entire soft box with light and give a nice soft light.
Shot without the Softbox. Notice the hard shadows that resemble the Noon Sun.
Here is with the Brolly Soft Box. Soft shadows.
Notice in the top pic how harsh that shadow is on the wall and how soft it is in the second photo. That is what $15 can get you which to me is probably the best $15 I can spend in my Photography Arsenal. As with any outdoor shoot, remember to Meter your Camera for the sky and then add your off Camera lights so that you get a good balance. This shoot was at High Noon with, as you can see, very little cloud coverage. After these shots were taken to test lighting, I wound up having to add a second SB-700 inside the Brolly to get enough light to overpower the sun and get the shadows to work with me for this shoot.
Here is a link to the Umbrella Brolly Box I tend to use. Brolly Box
The Good old Brolly Box Umbrella. A portable collapsable soft box.


