Fine Art and Conceptual Photography
Who Are You Photographing For? Finding Creative Voice Through Photography
Hey there, fellow shutter clicker’s enthusiasts! It's great to have you join me today for a conversation that's been swirling in my mind lately. You know, in the world of photography, there's often this tug-of-war between shooting for clients, chasing social media validation, and staying true to our personal creative vision. I'm sure many of you can relate to this struggle. So, let's dive into this introspective journey and explore the pros and cons of each approach.
Shooting for Clients: A Balancing Act
When I first started on this photographic journey, my main focus was on shooting for clients. The opportunity to capture someone else's story and bring their vision to life was undeniably fulfilling. There's a certain gratification that comes from knowing your work has contributed to someone else's happiness or success. The financial rewards are definitely a plus too!
However, the challenge lies in balancing your creative input with the client's expectations. Sometimes, you might find yourself compromising your artistic expression to align with their preferences. It's a delicate dance of meeting their needs while infusing your unique perspective.
Chasing Social Media Likes: The Double-Edged Sword
In this age of instant gratification and endless scrolling, the quest for social media likes can be a powerful driving force. Sharing our work with the world and receiving positive feedback feels incredible. The validation from a growing number of likes and followers can give a real boost to our self-esteem and confidence.
Yet, it's crucial to remember that the value of our art isn't solely determined by the number of likes or comments we receive. The danger lies in becoming so focused on trends and popular styles that we lose sight of our originality. We risk sacrificing our authentic voice in the pursuit of fleeting internet fame.
Shooting for Myself: A Journey of Self-Expression
So, where does that leave us? Well, personally, I've discovered that the most fulfilling approach for me is shooting for myself. It's about tapping into my creative wellspring and giving life to the images that reside within my mind. This isn't just about pressing the shutter; it's about crafting a narrative, evoking emotions, and creating art that's a true reflection of who I am.
Sure, it might not always lead to immediate recognition or financial gain, but it's about nurturing my growth as an artist and honing my distinct style. I'm no longer confined by the expectations of clients or the fleeting praise of social media. Instead, I'm guided by my inner compass, pushing the boundaries of my creativity and exploring uncharted territories.
Embracing My Creative Artistic Outlet
In conclusion, my friends, photography is a journey that evolves over time. It's about finding that sweet spot where our passions intersect with our purpose. For me, that means capturing the world through my eyes, creating images that resonate with my soul, and staying true to my creative vision. It's an ongoing process of self-discovery and artistic expression.
Remember, it's not about who you're photographing for, but about finding your unique voice and sharing it with the world. Whether you're shooting for clients, chasing social media likes, or embarking on a personal artistic journey, let your heart and imagination be your guides. So, keep clicking, keep creating, and keep embracing the beautiful journey that is photography.
5 Ways to Elevate Your Portrait Photography
Capturing stunning portrait photographs requires more than just pointing a camera and clicking the shutter. It involves a combination of technical skills, artistic vision, and the ability to connect with your subjects. Whether you're a beginner or a seasoned photographer looking to enhance your craft, here are five powerful tips to take your portrait photography to the next level:
1. Master Lighting Techniques: In portrait photography, lighting is the key to creating captivating images that truly showcase your subject's personality and features. Experiment with different lighting setups to find what works best for different situations. For outdoor portraits, utilize the golden hours (early morning and late afternoon) when the sun provides a soft, flattering light. When shooting indoors, consider using natural window light or setting up artificial lighting to sculpt the subject's face. Don't be afraid to use reflectors or diffusers to control the intensity of light and reduce harsh shadows. Understanding the interplay between light and shadow will allow you to add depth and dimension to your portraits, enhancing their overall visual appeal.
2. Utilize Depth of Field Creatively: The depth of field (DOF) is the area in front of and behind the subject that appears in focus. By manipulating DOF, you can direct the viewer's attention to specific areas of the photograph. For intimate and engaging portraits, use a wide aperture (low f-stop number) to create a shallow DOF. This will blur the background, allowing your subject to stand out prominently. Conversely, for environmental portraits or group shots, opt for a smaller aperture (high f-stop number) to achieve a deeper DOF, ensuring everyone and the background remains in focus. Creative use of DOF can add context and storytelling elements to your images, bringing a unique perspective to your portrait photography.
3. Establish a Genuine Connection: One of the most crucial aspects of portrait photography is the ability to connect with your subject. Establishing rapport and building trust will help your subject feel at ease, resulting in more authentic and natural expressions. Engage in friendly conversations, show genuine interest in their stories, and actively listen to what they have to say. Always maintain a positive and encouraging attitude, making your subject feel comfortable and confident during the shoot. Additionally, give clear directions and compliments to boost their self-assurance. By fostering a relaxed and enjoyable environment, you'll capture portraits that reflect the true essence of your subject's personality and emotions.
4. Pay Attention to Composition: Composition plays a vital role in guiding the viewer's eye and conveying the mood of your portraits. Familiarize yourself with the rule of thirds and use it to place your subject off-center, creating a visually appealing balance. Leading lines and framing elements can add depth and context to your images, drawing attention to the subject. Be mindful of negative space, as it can evoke emotions and emphasize the subject's presence. When composing, consider the background and remove any distracting elements that might divert attention from the subject. Strive for simplicity and harmony in your compositions, allowing your subject to take center stage and leaving a lasting impact on your audience.
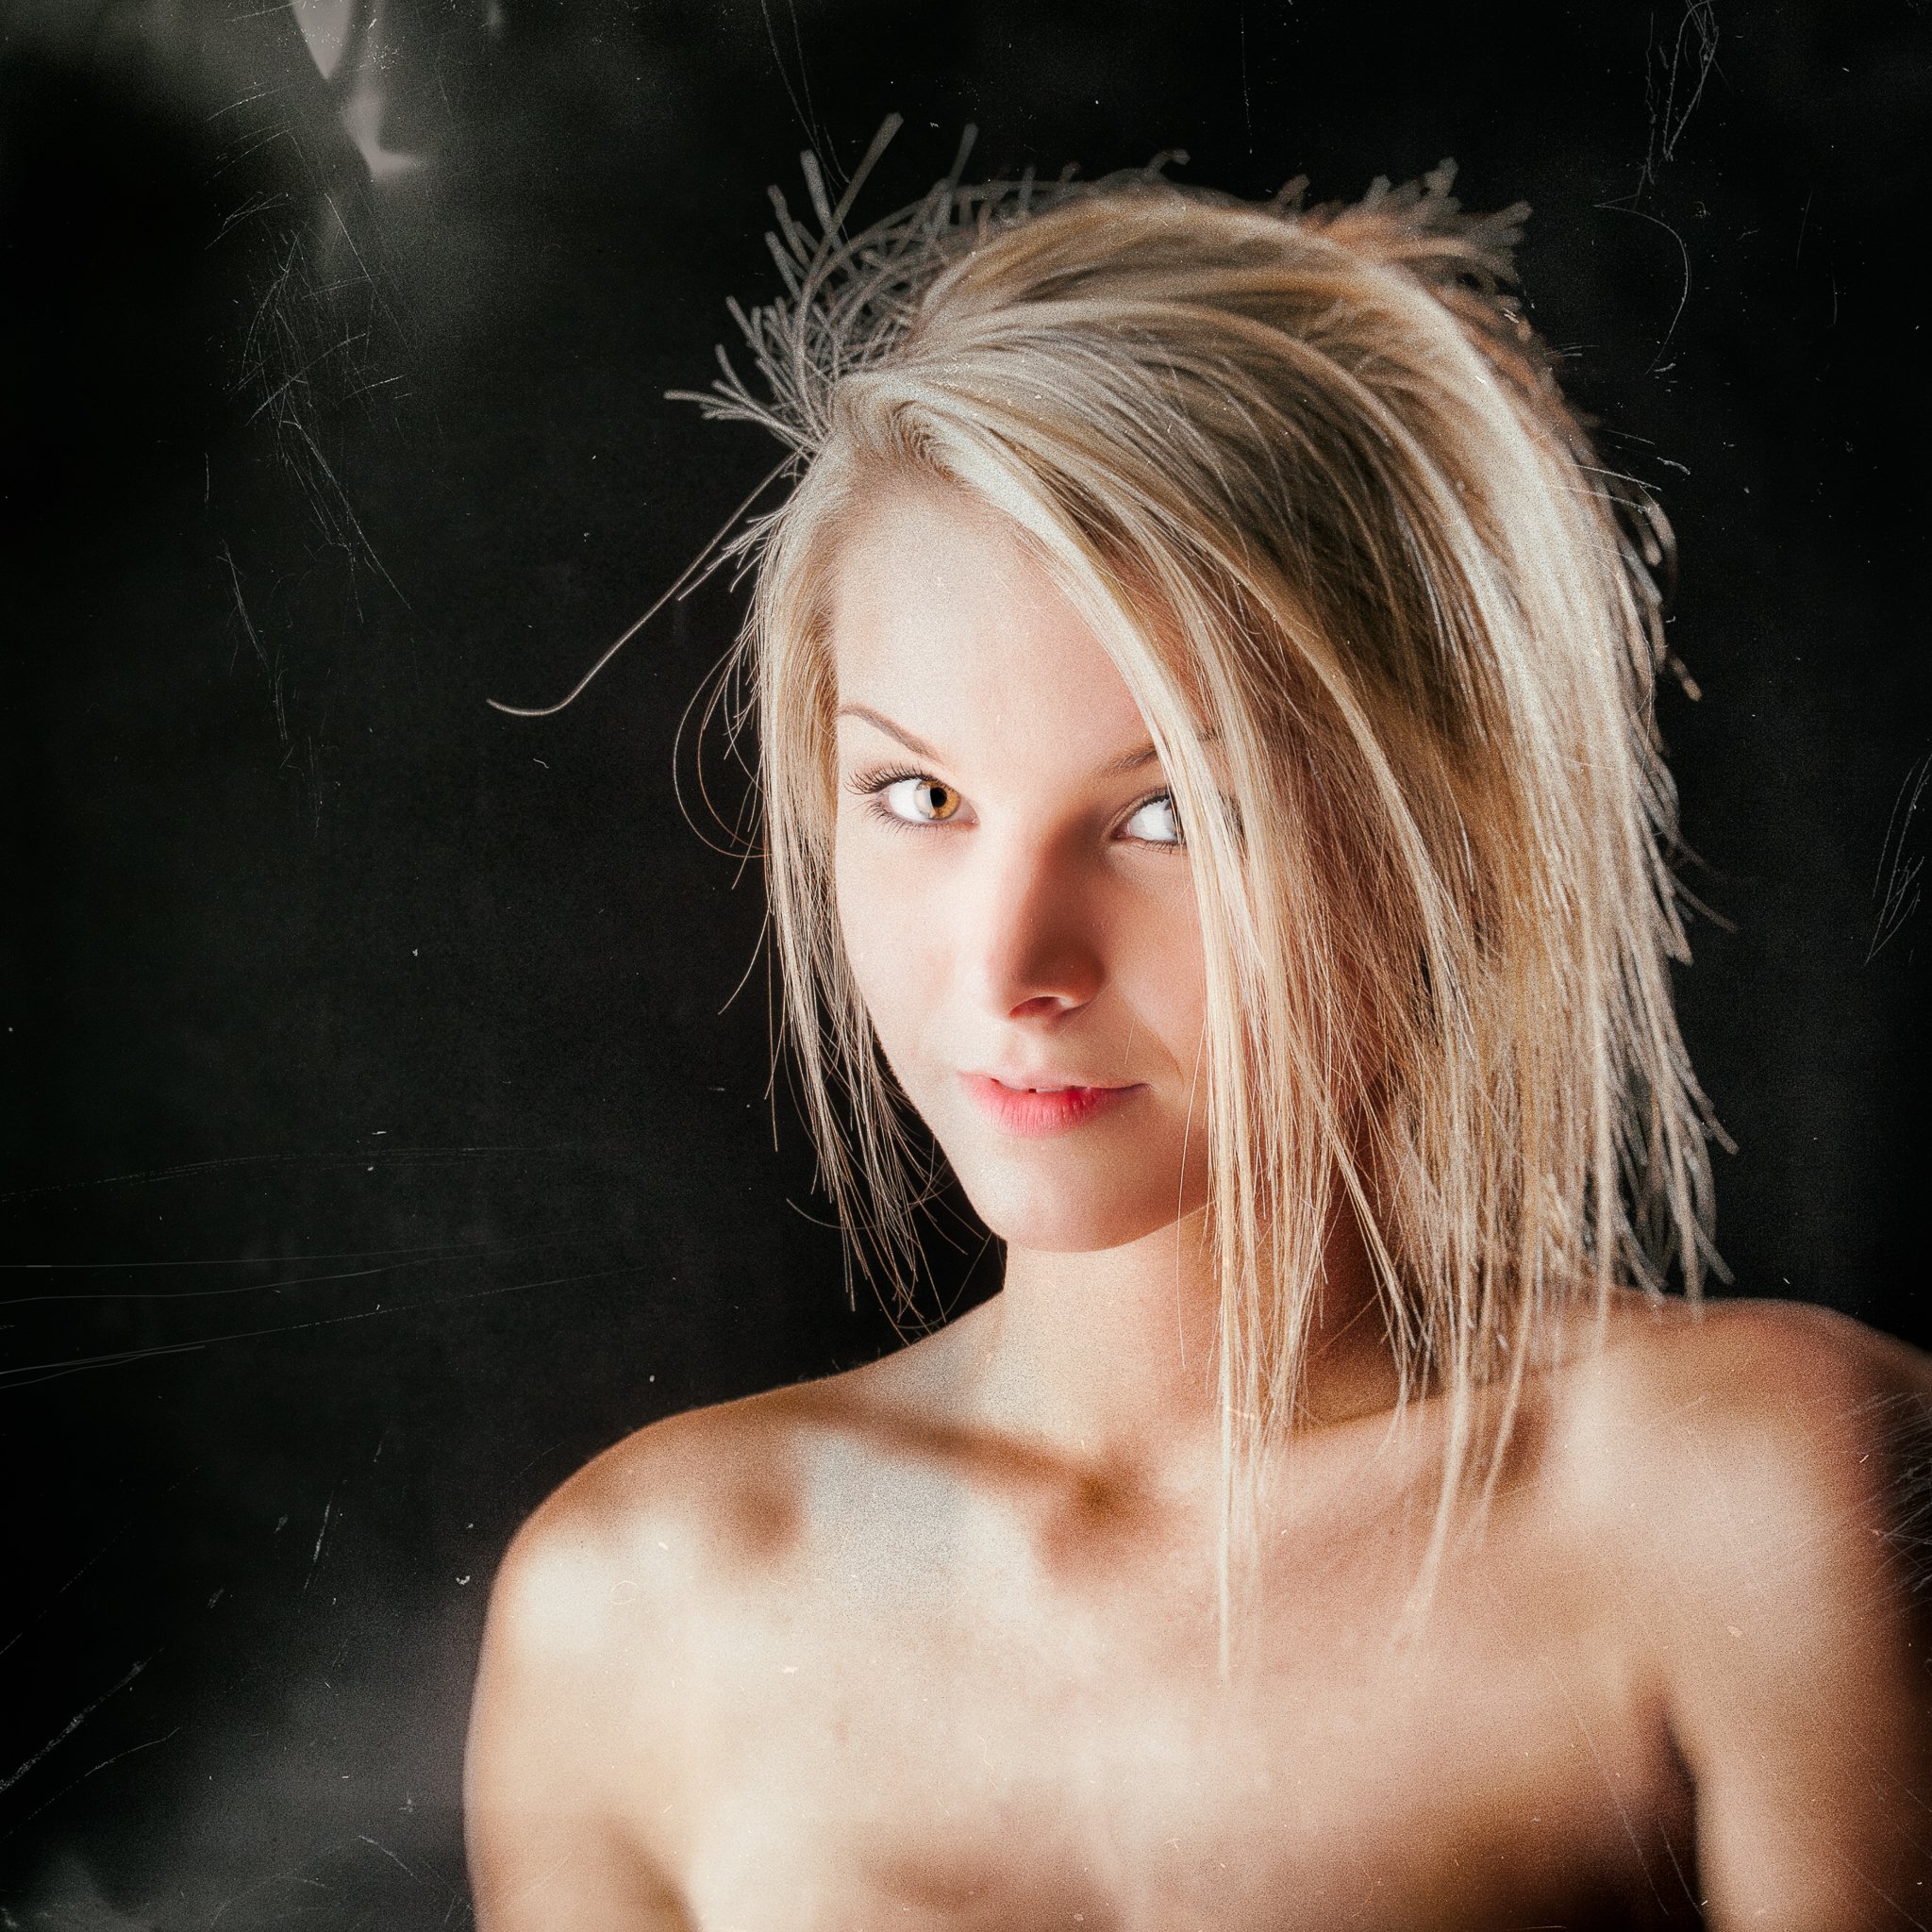
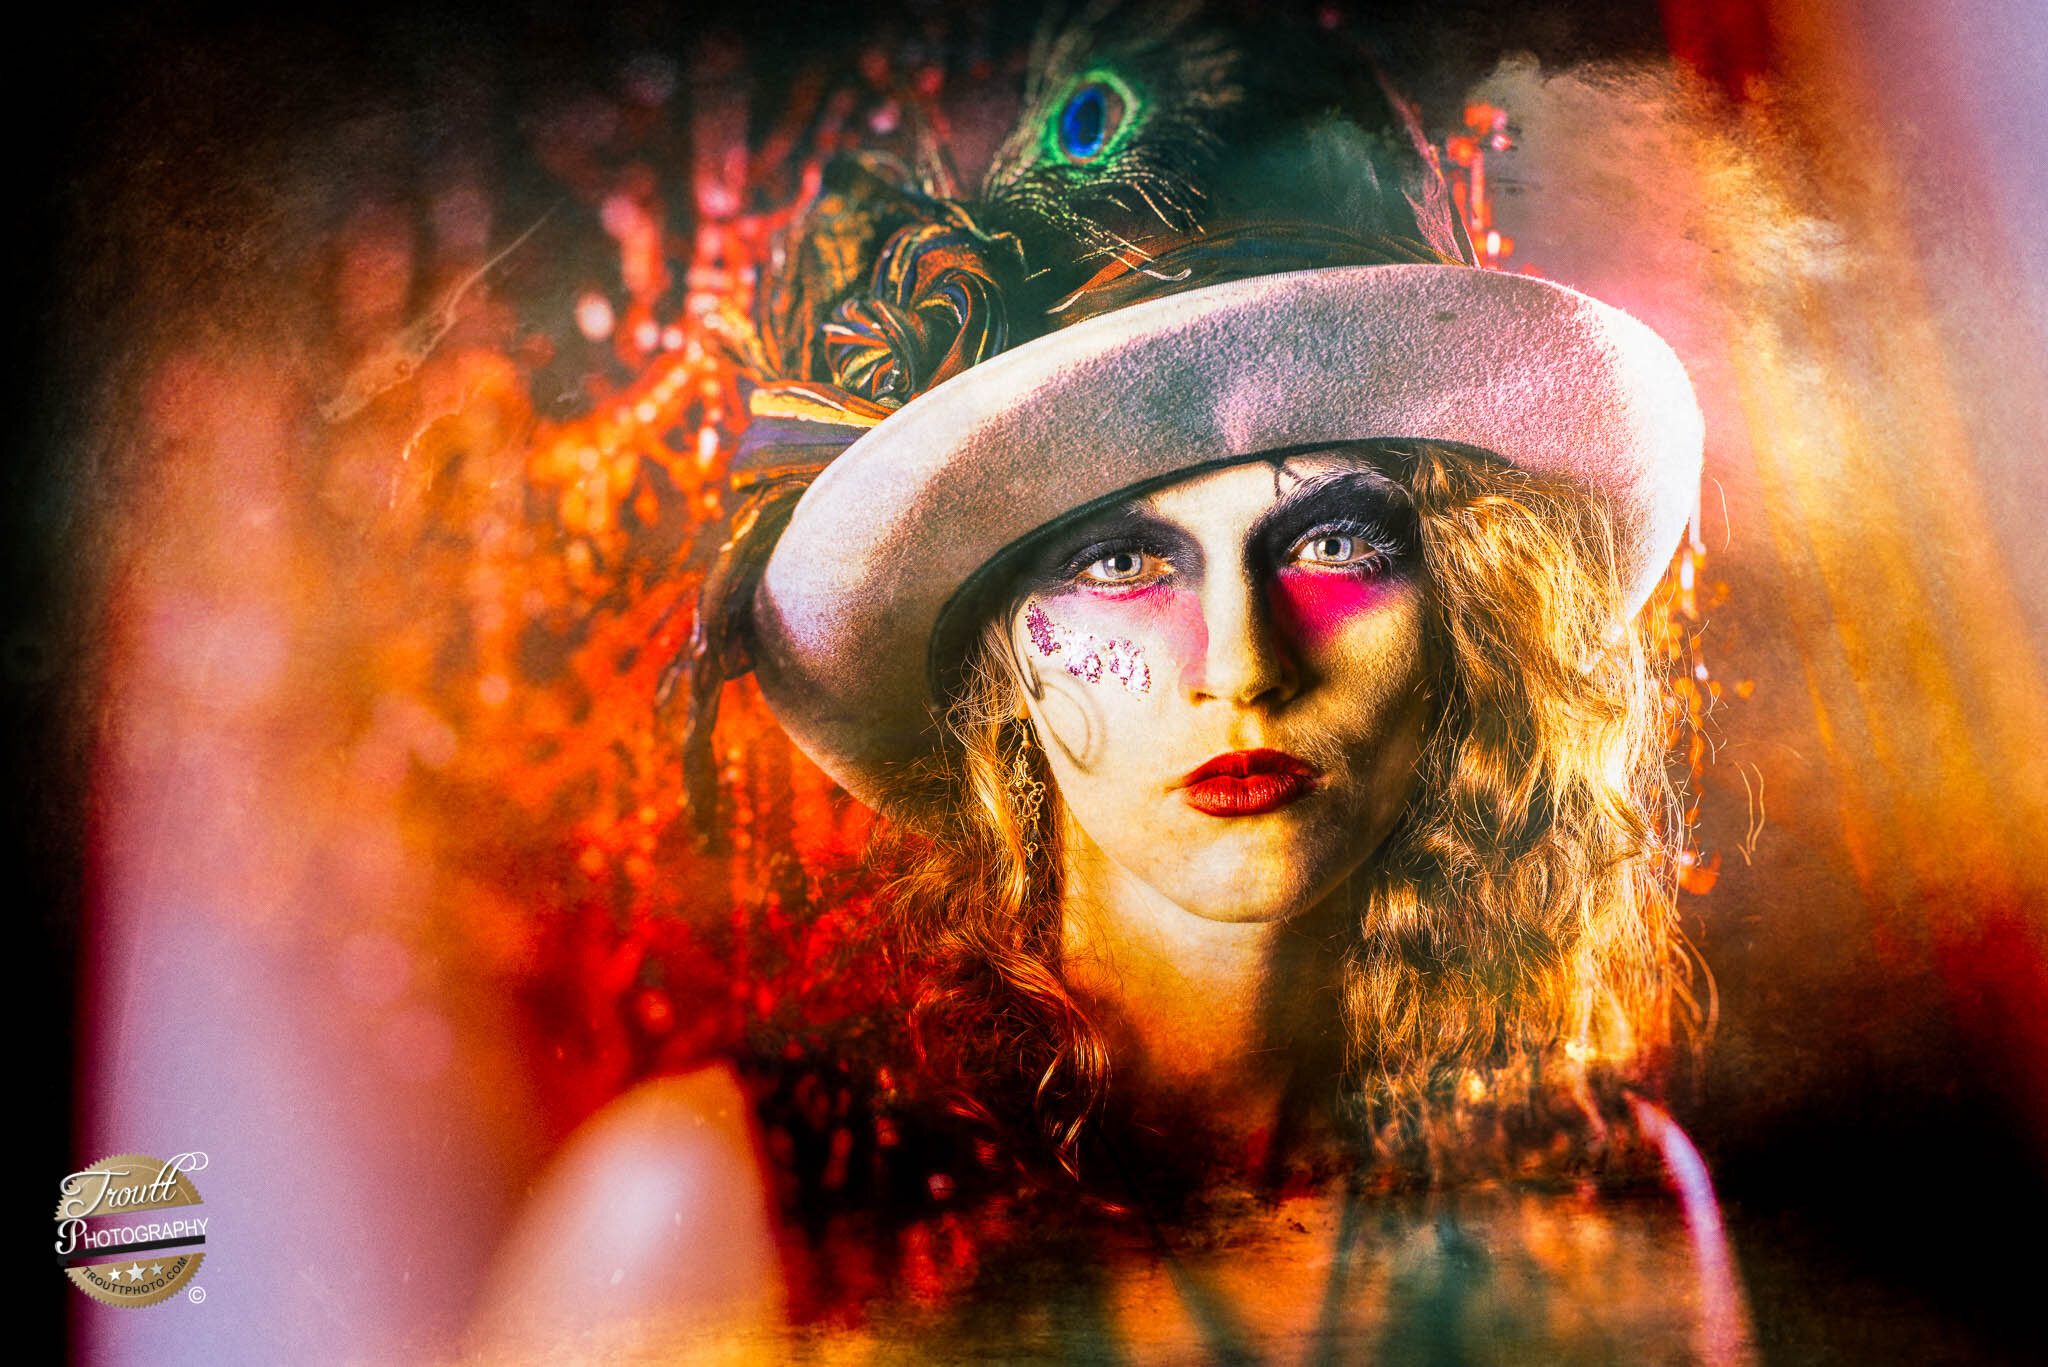
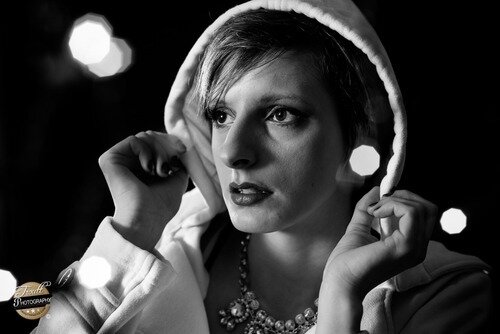
5. Enhance Your Editing Skills: Post-processing is the final stage in bringing your vision to life and adding the finishing touches to your portraits. Learn how to use editing software effectively to fine-tune exposure, color balance, and contrast. Also keep in mind that unless you have a certain style to your photography, you should avoid over-processing and strive for a natural look that enhances the subject's features while preserving their authenticity. The above image was edited using Lightroom, Photoshop, Luminar AI and DXO’s Nik Software. Experiment with different styles and presets to find what complements your artistic vision. Additionally, focus on retouching techniques to subtly remove any distractions or imperfections, without altering the subject's appearance drastically. Remember, post-processing should enhance the portrait's visual impact, not become the centerpiece of your work. A well-executed editing process will elevate your portraits, making them stand out and leave a lasting impression on your audience.
In conclusion, improving your portrait photography requires a blend of technical proficiency and creative flair. Mastering lighting techniques, composition, and depth of field, along with forging connections with your subjects, will undoubtedly set you on the path to capturing captivating and evocative portraits. Don't forget the final step of post-processing to refine your images and achieve a polished and professional look. Happy shooting!
My Typical Editing Workflow
Here is a short video showing my editing workflow for an image I took a few years back. This wasn’t a planned out edit or anything so you will see me mess up a few times and work through how I want to take the image.
Here is a short video showing my editing workflow for an image I took a few years back. This wasn’t a planned out edit or anything so you will see me mess up a few times and work through how I want to take the image. My usual editing flow starts out in Lightroom where I do as much of the basics as possible. From there I will take the image into Photoshop and do any heavy lifting edits. With the style I like for my images I tend to use Nik Software a lot as well. After I do any changes in photoshop or plugins I take the image back into Lightroom for any final adjustments.
Creative Bokeh
Though I will never give up my claim that all the wide open Bokeh effects that everybody is in love with these days in anything but a fad like Selective Coloring and the Lomo Instagram effects, it still is pretty cool and is perfect for creating some great effects.
Creating Bokeh in front of your subject.
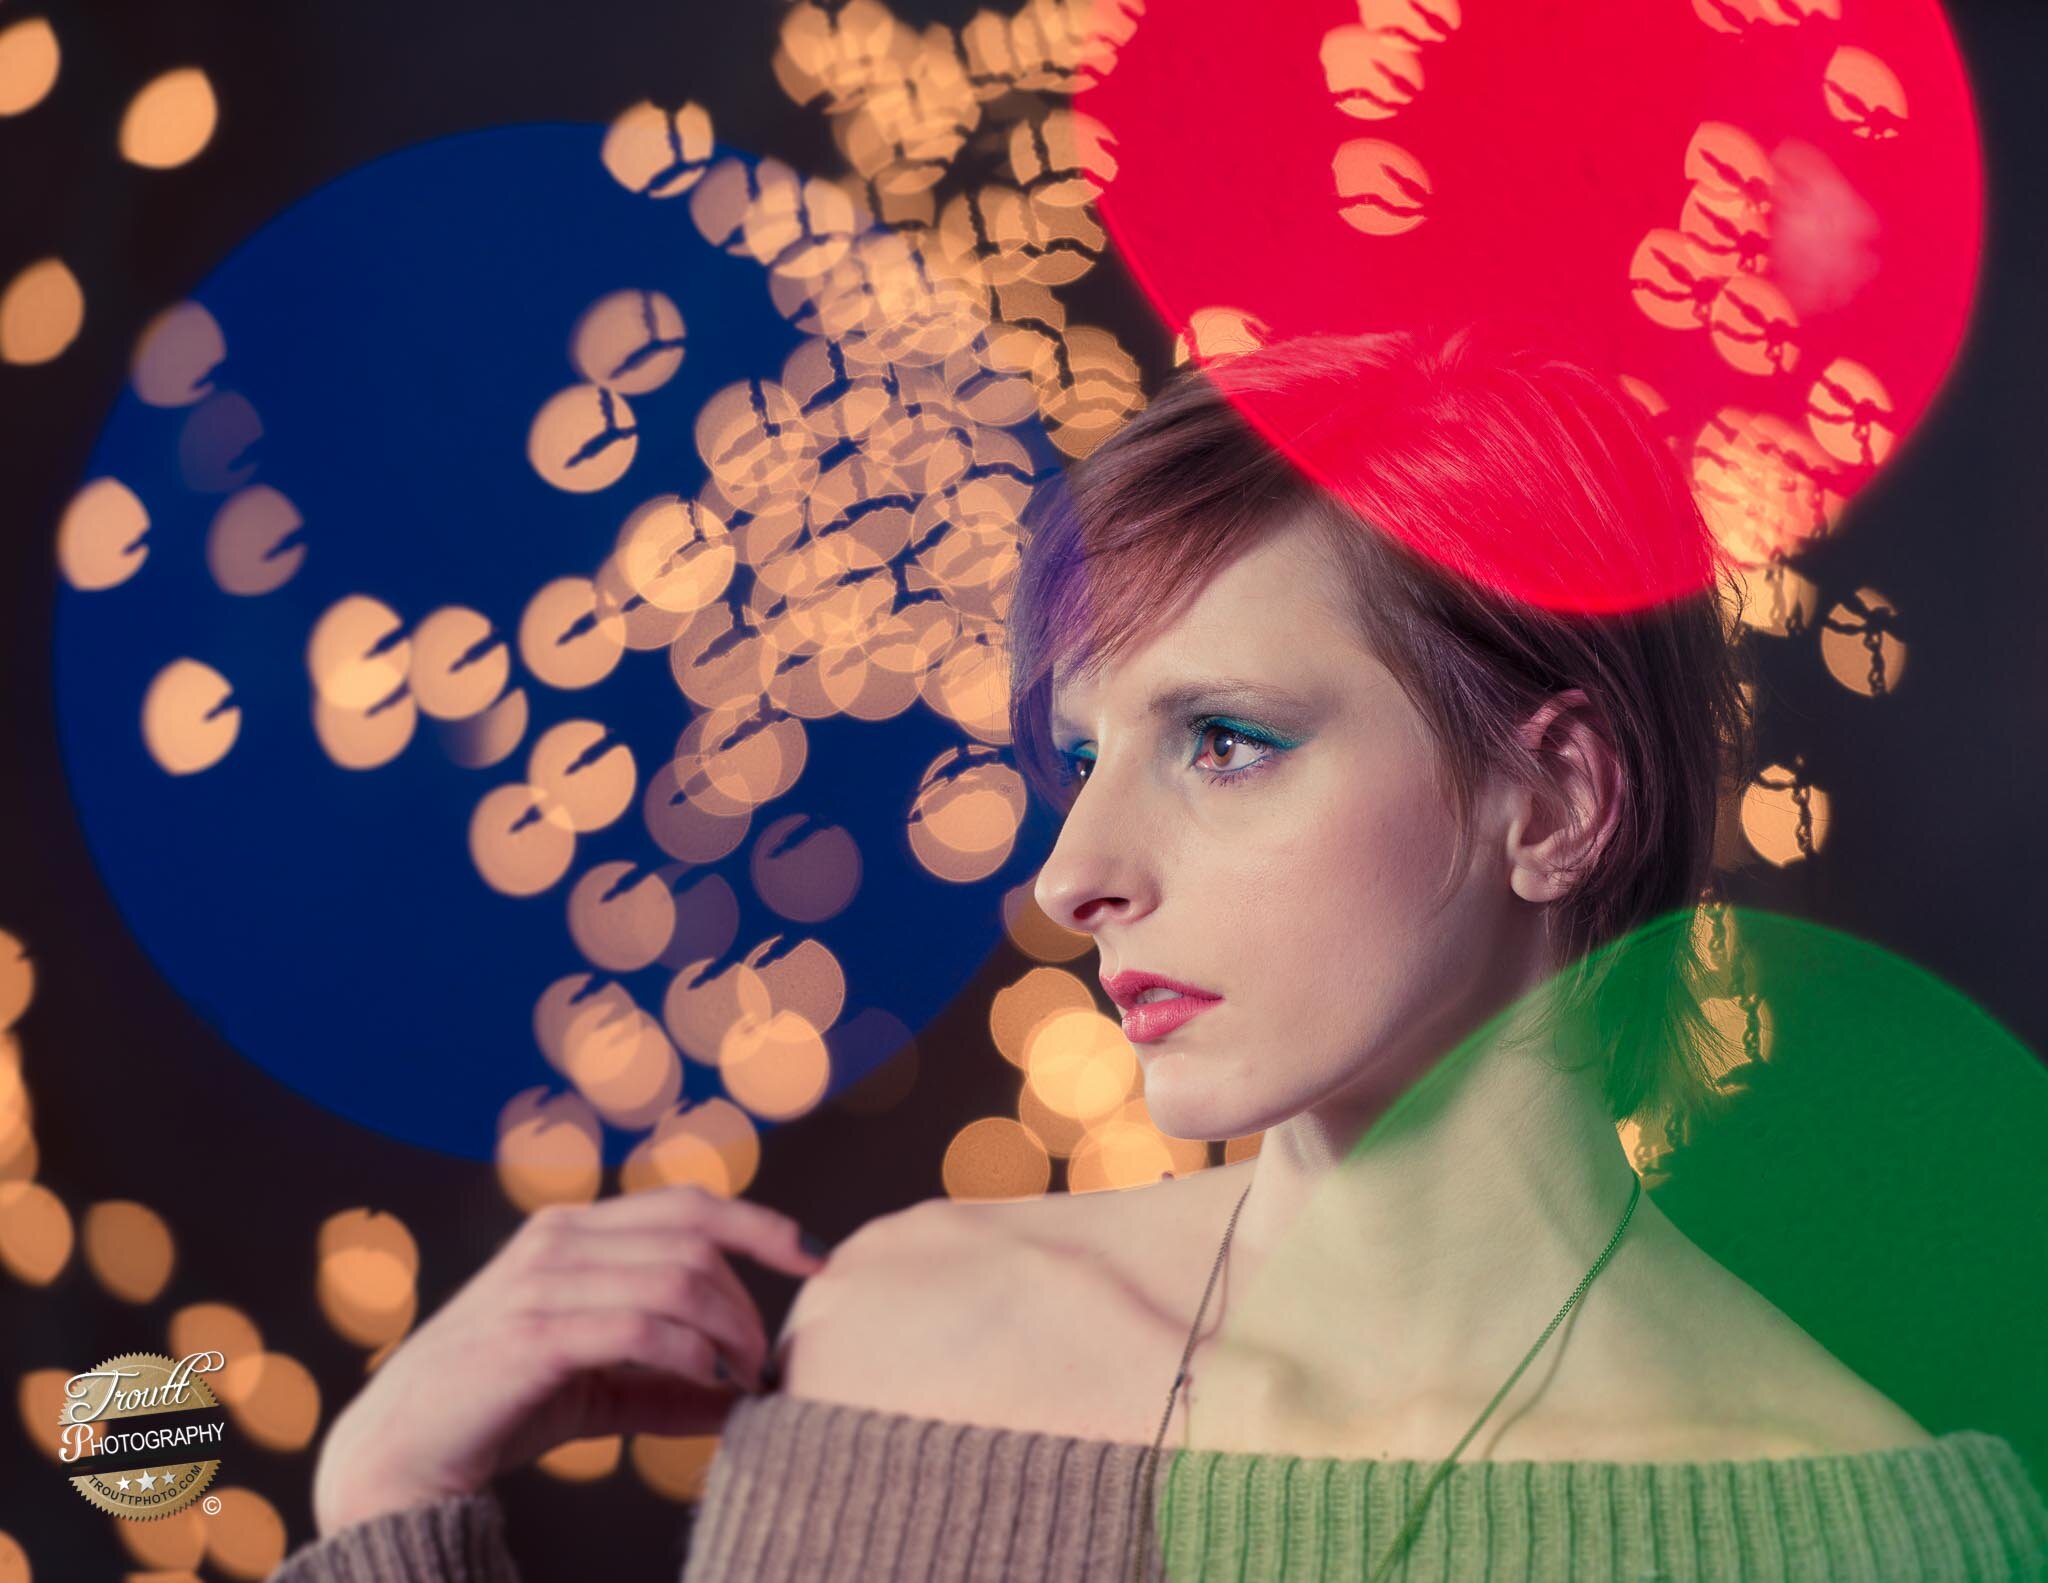
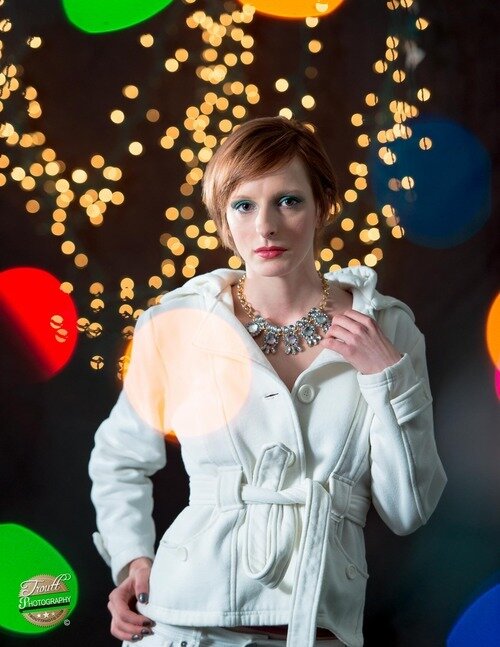
Though I will never give up my claim that all the wide open Bokeh effects that everybody is in love with these days in anything but a fad like Selective Coloring and the Lomo Instagram effects, it still is pretty cool and is perfect for creating some great effects. For yesterdays shoot, I mixed both Strobes and Christmas lights to create these effects. First off I put a Paul C Buff Alien Bee AB800 about 10ft from my model with a shoot through umbrella. I put a gridded AB800 behind her with the standard reflector can that comes with them with a 30 degree grid to control any spill of light. I hung about 400 christmas light behind the model about 15 ft behind her. The unique color bubbles come from me hanging a strand of colored christmas lights in front on my camera about 1 ft in and 10 ft in front of the model. The Colored lights were outside the focal plain of the lens and created some unique bokeh effects that make these shots stand out from the typical Christmas Light Bokeh shot. The strobes were both set to min power, I shot at ISO 250 at 1/60th to 1/100th of a second and bounced between f2.8 and f4.0 on my lens. When doing this kind of shoot, experiment with different lenses because the number of blades in the lens will create different shaped bokeh effects. And make sure you have the ability to turn off the lights as normal overhead lights in the room will often be to powerful for that slow a shutter speed/ISO and will give the shots a ton of Light pollution not to mention overpower your Christmas lights.
The photos with the round Bokeh were done with the Nikon 70-200 2.8 VII while the shots with the Octagon Bokeh were shot with a Nikon 85mm 1.8D.
Overhead view of the Setup.
The Photography Toolbox.
This past Saturday I spent the day shooting in one of the local parks here in Saint Louis. Like any other shoot, I over packed the car with way more gear than I could possibly lug around. Battery Packs, Multiple Strobe lights,
The Brolly Box
This past Saturday I spent the day shooting in one of the local parks here in Saint Louis. Like any other shoot, I over packed the car with way more gear than I could possibly lug around. Battery Packs, Multiple Strobe lights, Stands, Sandbags, two Camera’s and several modifiers. I had never shot here and really had no idea what I was getting myself into as far as the size of the park or the amount of stairs that it had. Upon arriving, I did a quick scan of the place, and realized I wanted to go light, as this was a fairly spread out area with lots of good areas to shoot and their would be walking involved from location to location. Out comes the trusty Brolly Box. For anyone not familiar with this light modifier, it is essentially a small Octo-Box, this one being 42inches, that collapses like an umbrella. For anyone that uses off Camera flash, I recommend this being in your arsenal of light Modifiers. They weigh less than a pound, fold up to store the same size as one of those cheap umbrella’s that all of us seem to have to many of, and they don’t cost hardly anything. Like any umbrella based modifier, these things will eventually fail on you, fortunately they can be picked up on Amazon in sets of 2 for around $25-$35. So far I have not found any modifier in that price range that works so well for me and is so very useful. I use them on both my speed lights and my Strobes. The inside is a reflective silver. You put your light inside the hole in the center aimed at the silver back of the umbrella and when it goes off it will fill the entire soft box with light and give a nice soft light.
Shot without the Softbox. Notice the hard shadows that resemble the Noon Sun.
Here is with the Brolly Soft Box. Soft shadows.
Notice in the top pic how harsh that shadow is on the wall and how soft it is in the second photo. That is what $15 can get you which to me is probably the best $15 I can spend in my Photography Arsenal. As with any outdoor shoot, remember to Meter your Camera for the sky and then add your off Camera lights so that you get a good balance. This shoot was at High Noon with, as you can see, very little cloud coverage. After these shots were taken to test lighting, I wound up having to add a second SB-700 inside the Brolly to get enough light to overpower the sun and get the shadows to work with me for this shoot.
Here is a link to the Umbrella Brolly Box I tend to use. Brolly Box
The Good old Brolly Box Umbrella. A portable collapsable soft box.

